
A Beginner-Friendly Plan for a Safe WordPress Test Environment
A staging site lets you test WordPress changes before they go live, but it also needs real security. Learn how to create, lock down, and safely retire a test copy without risking your customers' data.
Updating WordPress directly on a live website can trigger visible problems. A plugin update might break checkout, or a theme change could create layout issues that visitors notice immediately. A staging site gives you a separate place to test changes before they reach your real website. Staging reduces operational risk, but it also creates another website that needs protection. A copied site may contain administrator accounts, customer records, API keys, or vulnerable software.
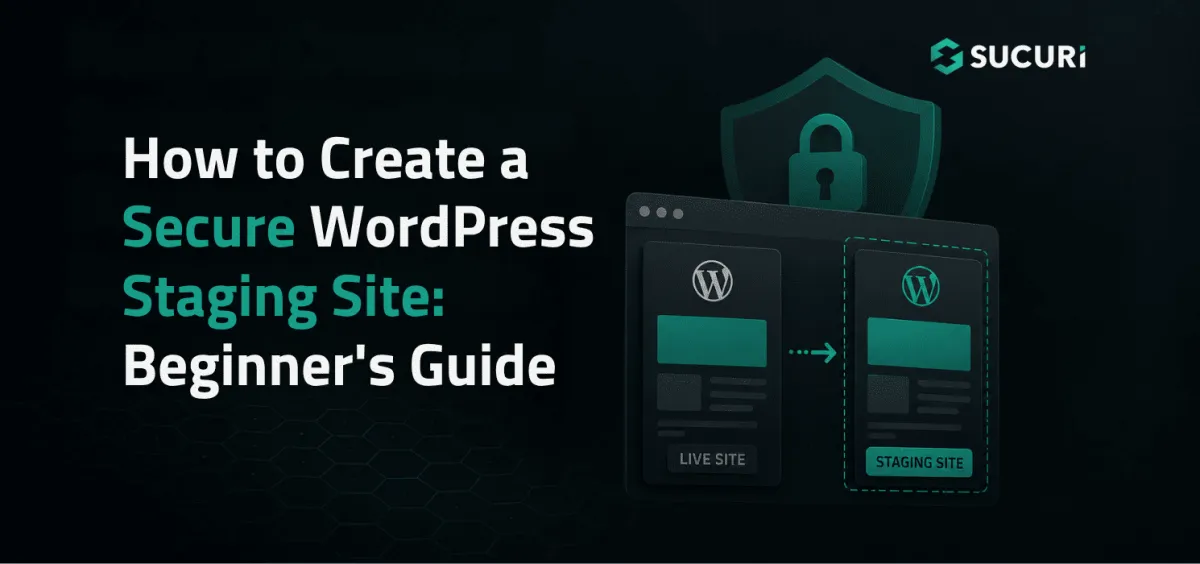
A WordPress staging site is a private testing copy of your live, or production, website. It lets you safely test WordPress core updates, plugin and theme updates, design changes, new plugins, PHP upgrades, forms and checkout, and troubleshooting fixes. Staging should behave enough like production that you can identify problems without affecting visitors. For beginners, a hosting provider’s built-in staging tool is usually the easiest way to create one.
Staging sites still need security because they often contain much of the same sensitive information as production. Cloning a live website may copy WordPress user accounts, customer records, form submissions, database credentials, API keys, plugin and theme vulnerabilities, and private content. Because staging sites are often treated as temporary, they may receive less attention than production. That can make them an unnecessary security risk. Treat staging as a real website with a limited purpose. Restrict access, keep its software updated, monitor it, and remove it when it is no longer needed.
For most beginners, using a hosting provider’s staging feature is the simplest option. The exact interface varies, but the workflow usually follows these steps: sign in to your hosting dashboard, select the live WordPress website, find Staging, Clone, or Copy Site, create a copy of the files and database, restrict access to the staging environment, and confirm the copied site works correctly. Create a current WordPress backup before cloning or deploying changes. This gives you a recovery point if something goes wrong.
You can also create staging manually. That usually requires a separate subdomain, separate WordPress files, a separate database, updated database credentials, updated site URLs, and access restrictions. Manual staging gives more control, but it also creates more opportunities to connect the wrong database or expose configuration details. If you are not comfortable working with databases and wp-config.php, use a host-provided staging tool or work with an experienced administrator.
To secure a staging site, start by restricting access. A staging site should not be openly available to anyone who discovers its URL. Common access controls include HTTP password protection, IP allowlisting, private networks or VPNs, and hosting-level access controls. Do not rely on the WordPress login page alone. It may protect the dashboard while leaving public pages, files, APIs, or plugin endpoints accessible. In WordPress, go to Settings > Reading and enable "Discourage search engines from indexing this site." This reduces the chance that unfinished staging content appears in search results, but it is not a security control. It does not prevent people or malicious bots from accessing the site. Use it together with proper access restrictions.
You can also mark WordPress as a staging environment by adding the line define( 'WP_ENVIRONMENT_TYPE', 'staging' ); in wp-config.php above the line that says "That’s all, stop editing! Happy publishing." This helps WordPress and compatible software recognize that the site is not production, but it does not protect the site by itself. Avoid reusing production credentials. Where possible, use separate credentials for staging, including WordPress administrator passwords, database credentials, SFTP or SSH accounts, API keys, payment credentials, email credentials, and webhooks. After cloning, review wp-config.php, plugin settings, and environment variables for production secrets the staging site does not need.
A staging site usually does not need a complete production database. Consider removing or replacing names, email addresses, phone numbers, addresses, orders, form submissions, membership records, and authentication tokens. For an ecommerce site, a few test orders may be enough. For a membership site, create test accounts rather than using real customer records. A cloned WordPress site may continue communicating with production services. Check whether staging can send customer emails, process payments, update inventory, trigger marketing workflows, send SMS messages, or deliver production webhooks. Use test or sandbox payment credentials, redirect or block outbound email, and replace production API keys and webhook destinations. Do this early, because scheduled tasks may start running as soon as the staging copy is created.
Protect staging with a valid TLS certificate, which enables HTTPS. HTTPS encrypts credentials and test data while they travel between the browser and server. It does not replace authentication, updates, or monitoring, but it remains an important security layer. Keep staging updated: maintain WordPress core, plugins, themes, PHP, and server software. Remove plugins and themes that are no longer needed, because inactive software can still contain files that are accessible from the web. Limit user permissions, giving each person only the access required for their task. A content reviewer may only need Editor permissions, and a contractor testing a form may not need hosting access. Review cloned user accounts as well; old agency, contractor, or staff accounts may still exist in the copied database.
Monitor staging by adding it to your website inventory and assigning someone responsibility for it. Watch for unexpected file changes, new administrator accounts, failed logins, malware indicators, and unexpected public access. A safe staging workflow includes creating and verifying a production backup before testing, restricting access, discouraging search engine indexing, removing unnecessary customer data, replacing production credentials and integrations, and disabling real payments and email. During testing, change one major component at a time, test login, forms, search, navigation, and checkout, check desktop and mobile layouts, review errors and logs, and confirm no real customer communications were sent. Before deploying, create another production backup, identify exactly what will be copied, review differences between staging and production, document a rollback process, apply the approved changes, and test critical features on production.
One of the biggest staging risks is overwriting newer production data. For example, an ecommerce website is copied to staging on Monday. Customers continue placing orders on the live site during the week. On Friday, someone pushes the entire Monday staging database back to production, and those newer orders could be lost. The same problem can affect customer a
How to Protect Yourself
- Use your hosting provider's one-click staging tool instead of trying to build a test site manually, because it is simpler and less likely to leak private data.
- Put a password on your staging site, or ask your hosting provider to do it, so that only you and your team can see the test copy.
- Always back up your live website before you copy it to staging and again before you push any tested changes back to the live site.
- Turn off real payment processing and email sending in your staging test site so customers do not receive fake order confirmations or see unfinished pages.
- Delete your staging site completely when you are finished testing, including its files, database, and any special web address, so hackers cannot later find and abuse it.